To either downloading and install FARO Connect Viewer for the first time, or to update and replace existing GeoSLAM Connect to the new FARO Connect, follow the steps below and watch the video. Make sure any firewalls, antivirus and VPN’s are disabled in order to download and install this software.
Downloading FARO Connect Software
- Click this link to download FARO Connect Viewer
Installing FARO Connect Software
- Once downloaded, double click the executable file to start installation

Creating a Sphere XG Account to install FARO Connect Software
- After installation of the software, open it up, and you will need to create a free Sphere XG account by selecting Start a free Trial if you don’t already have one
- You will need this email and password you set-up to log in once the software is downloaded and installed
Activating FARO Connect Software
- If you haven’t already downloaded the FARO Connect Licensing Manger and activated your software, you’ll need to click the Fix This button in the upper right and corner of the software and do so

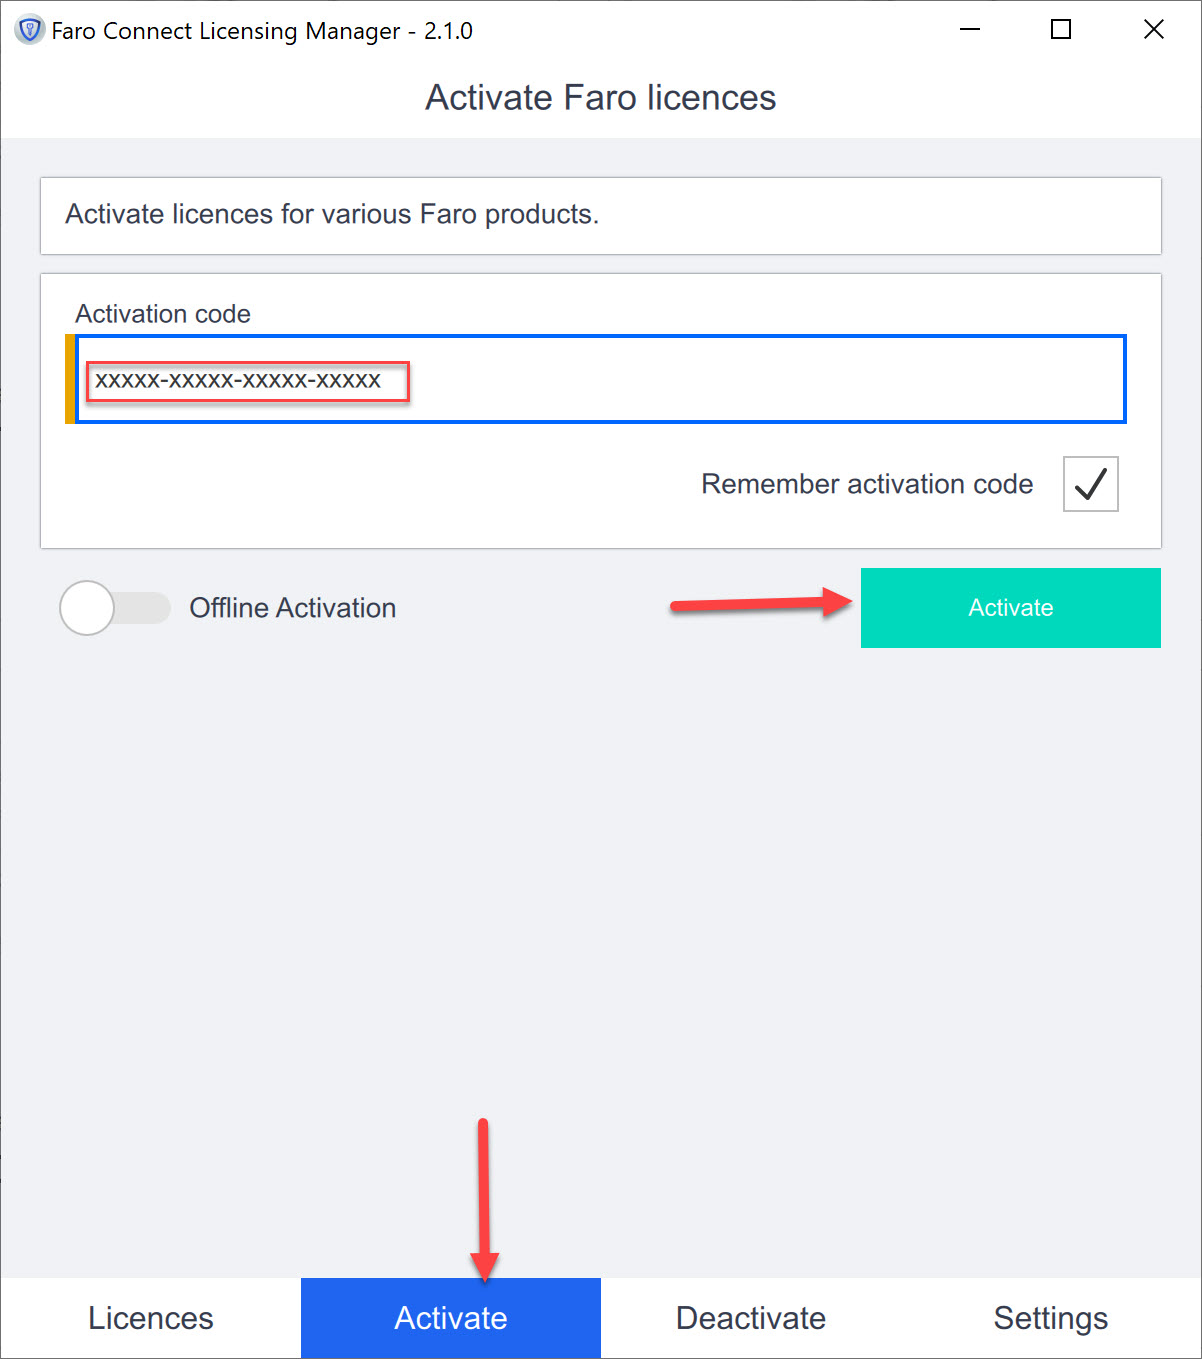
- This will bring up the FARO Connect Licensing Manager which requires your Activation Code to start the software with a valid license
- Select the Activate tab at the bottom of this dialogue box
- Add your software verification code and select Activate
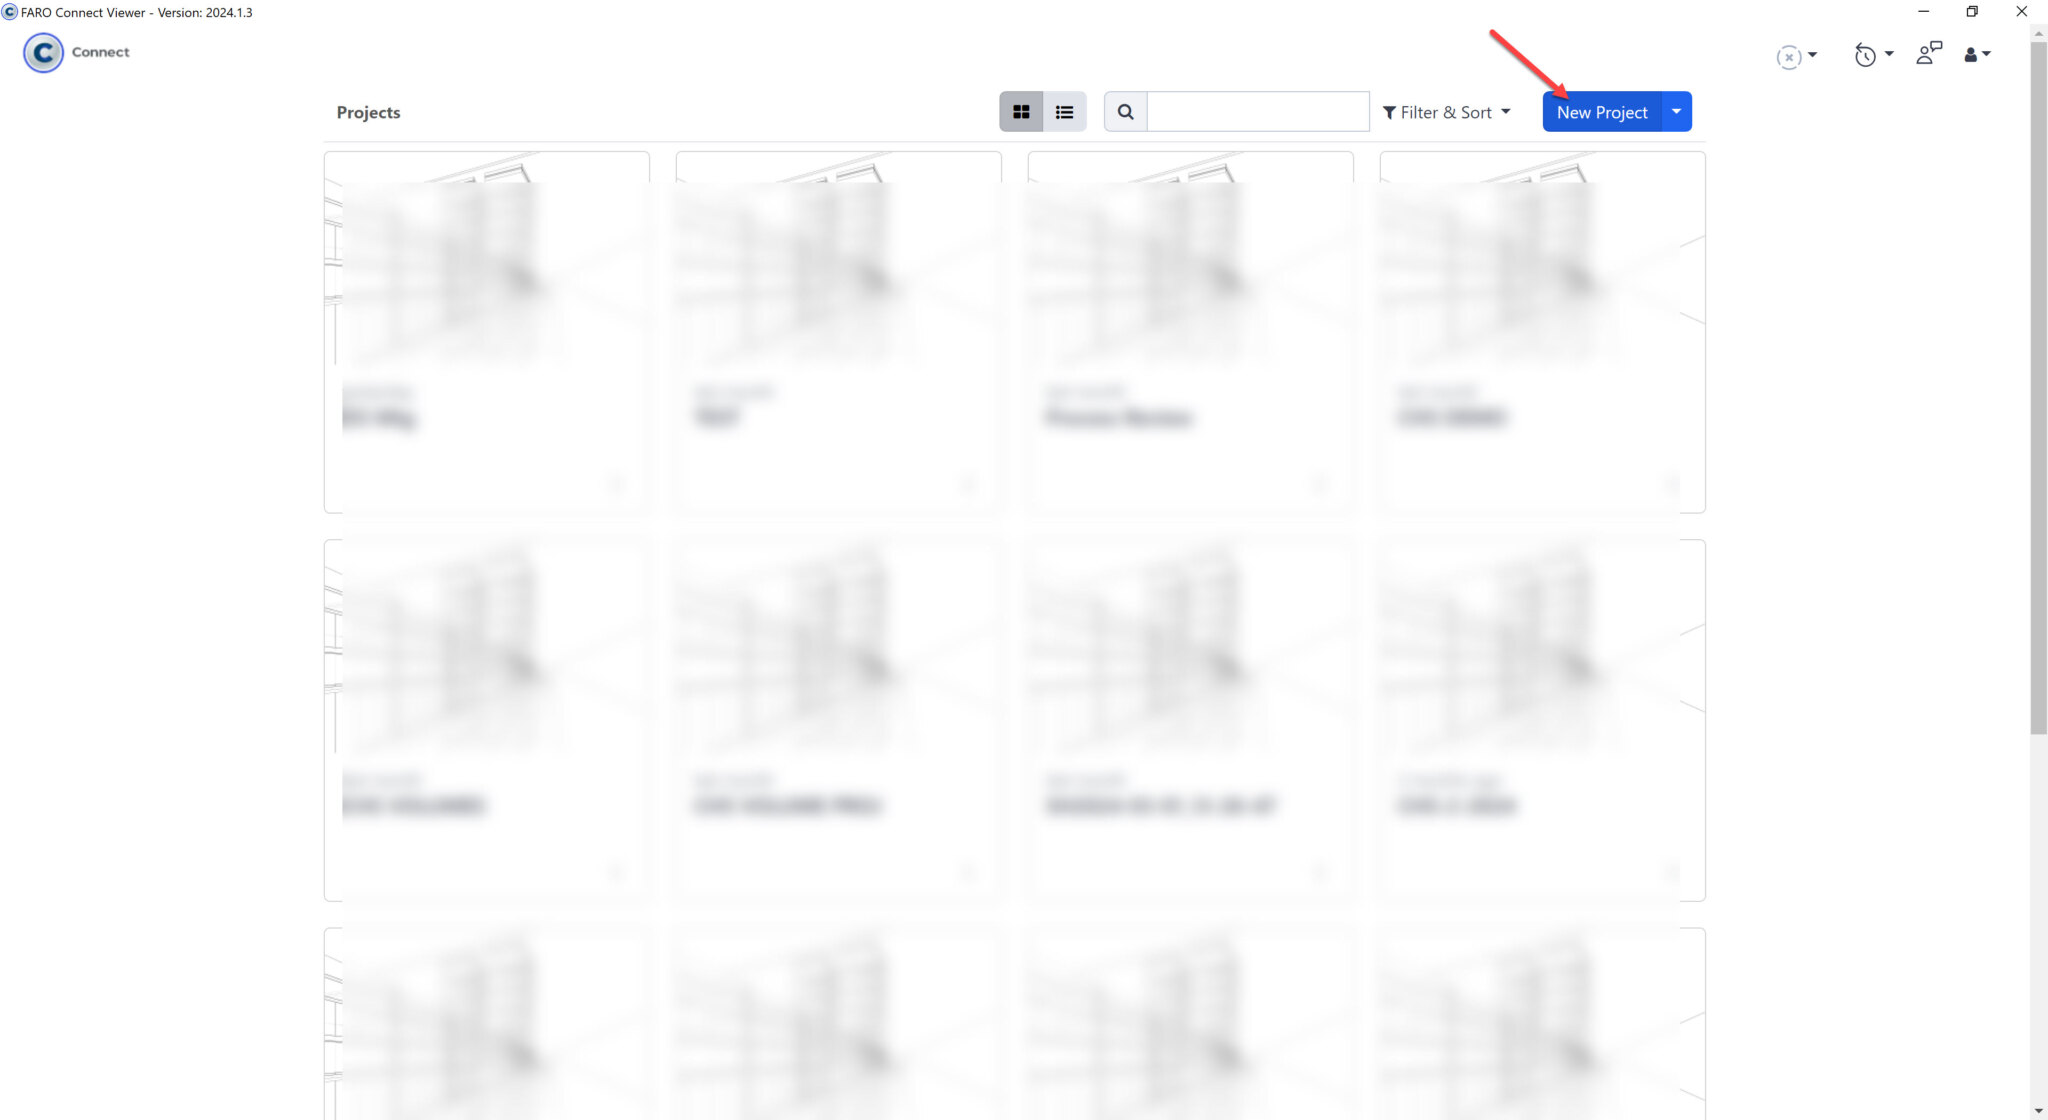
- From here a New Project can be started to import the scanned data
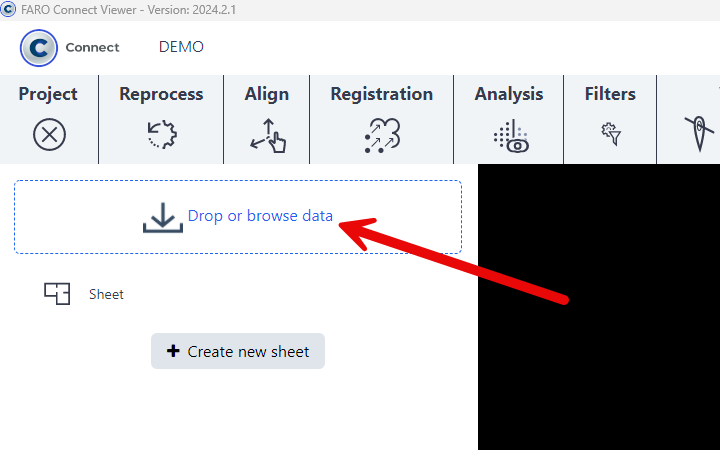
- Select the .geoslam file to bring in and process
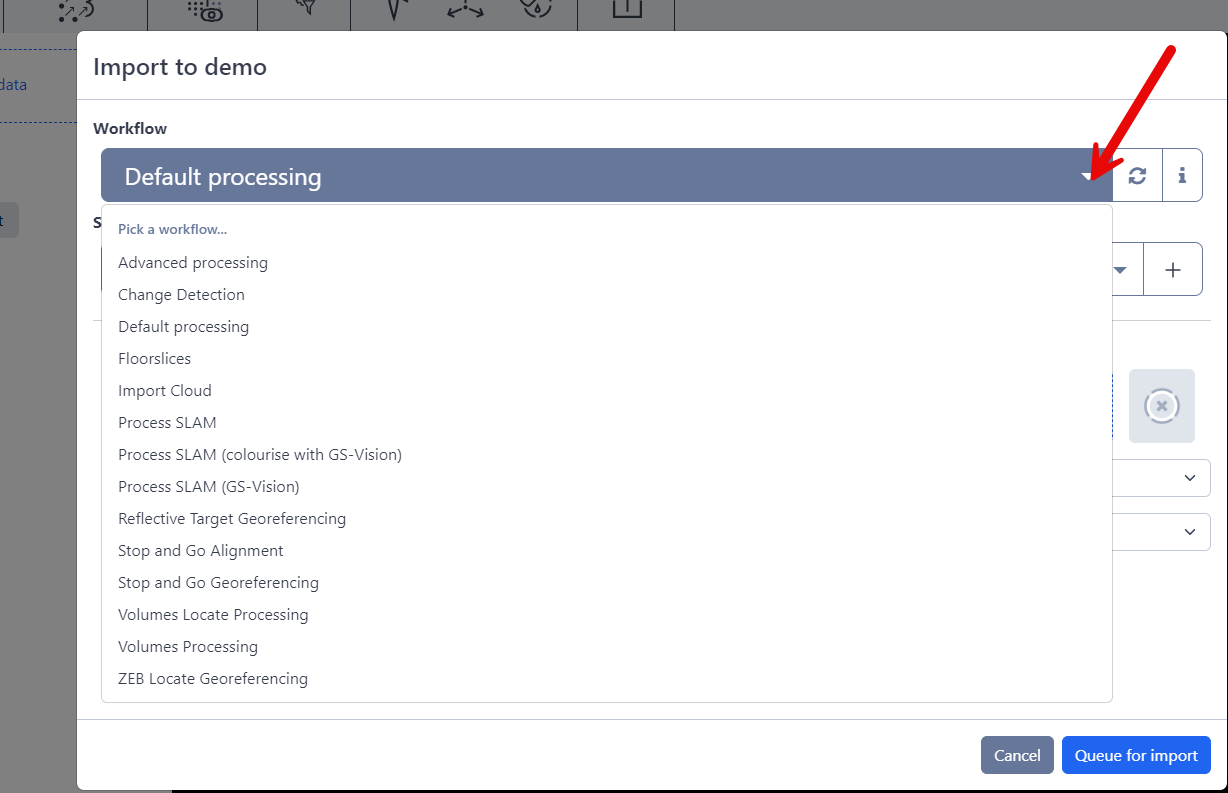
- Choose the type of processing
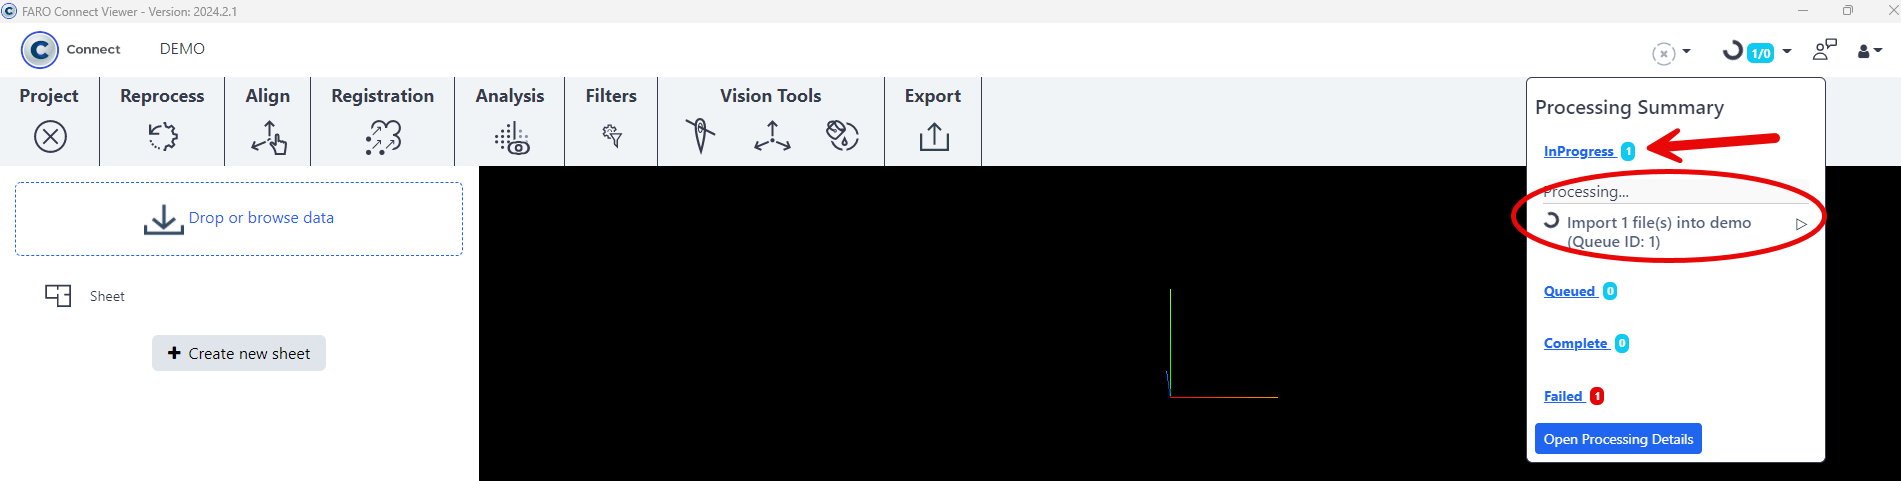
- The scan will begin processing
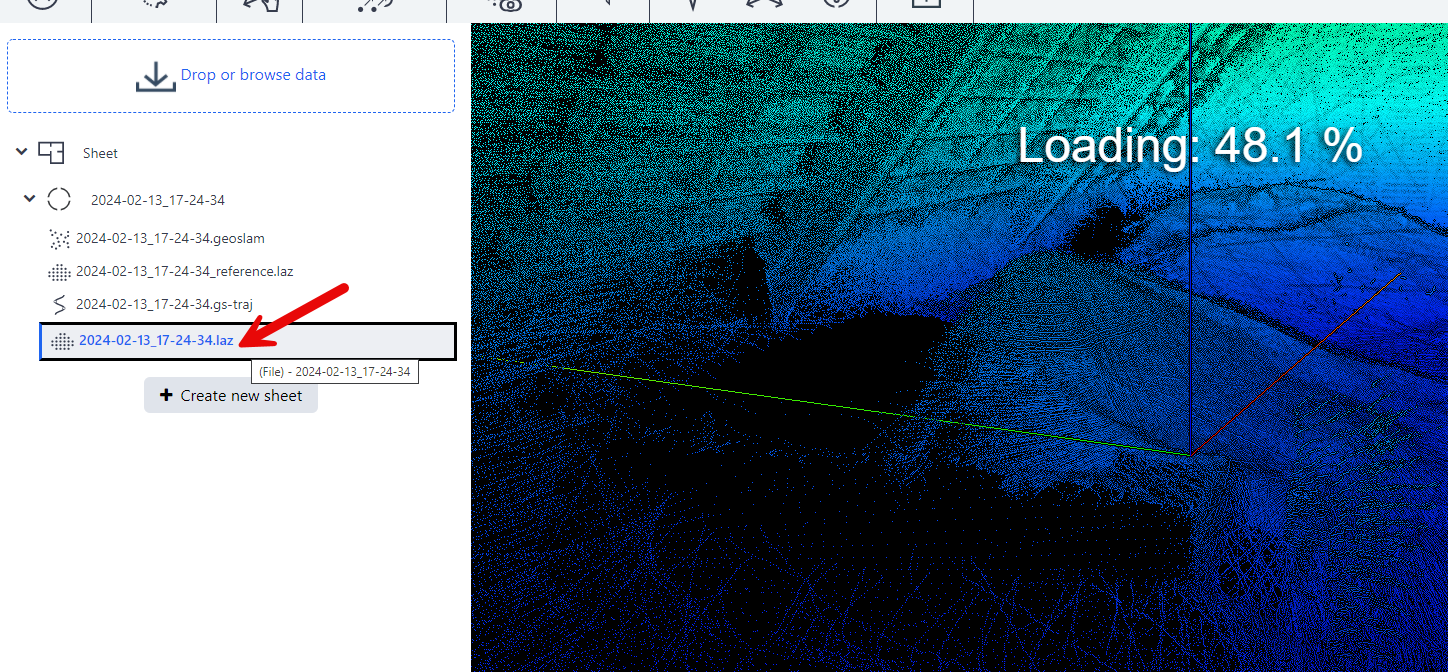
- Double click on the .laz file after processing is complete to view the point cloud from the scan.
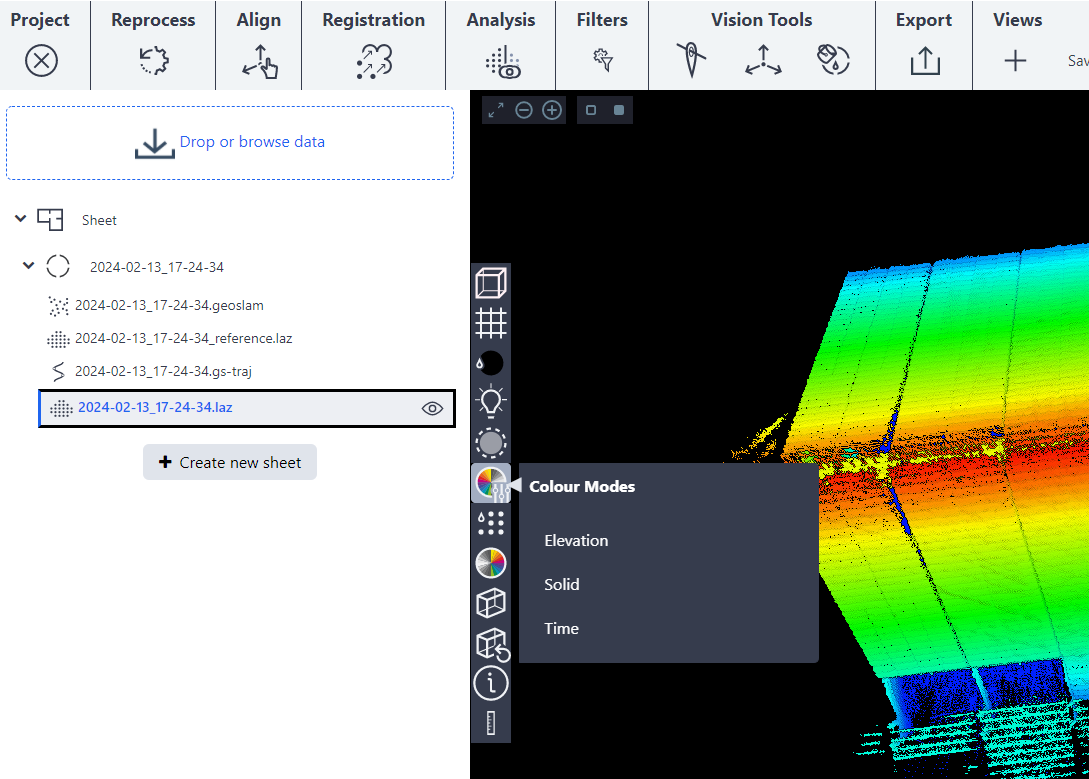
- Use the tools inside Connect to change the view or filter the points.

Leave A Comment