
![]()
Bluebeam Revu: Accessing Files in Studio Projects
Bluebeam’s Studio Projects provides a simple Document Management System in the cloud. Projects allow you to upload PDFs and other file types and invite project partners around the world to check out and edit those files from anywhere. And, Studio Projects isn’t just a place to store your PDF’s for current and future use. Studio Projects may contain ANY type of file, not just PDFs. PDF files will open in Revu, while other file types will open in the default program associated with it on your device.
Today we will delve into how to access and utilize files that are stored in a Bluebeam Studio Project. Let’s get going!
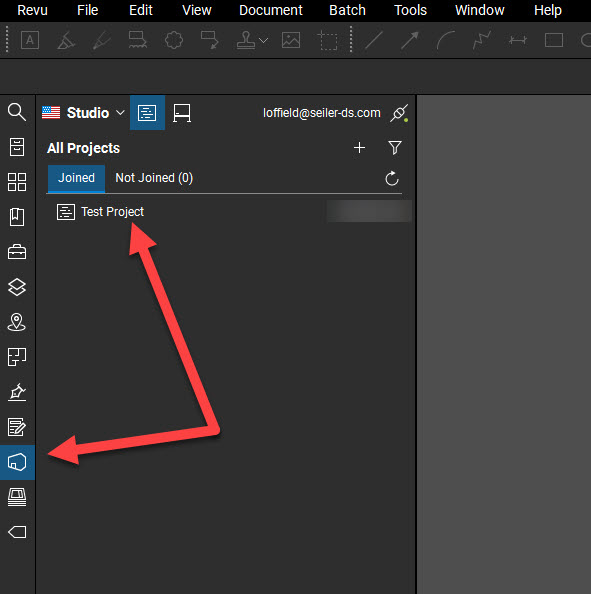
- Start by going to the Studio Panel and selecting the Studio Project you wish to open.
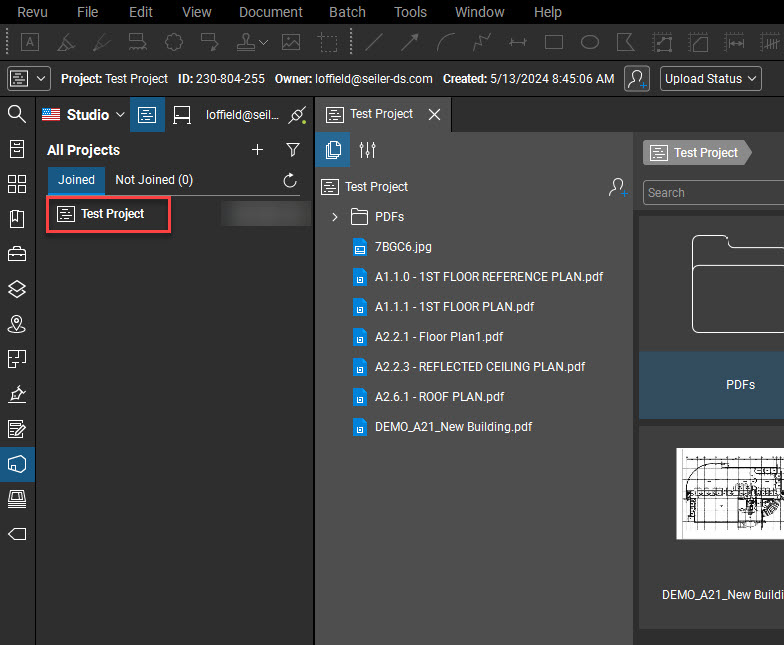
- Once the project opens, you will see the folders and files that are currently uploaded to the project.
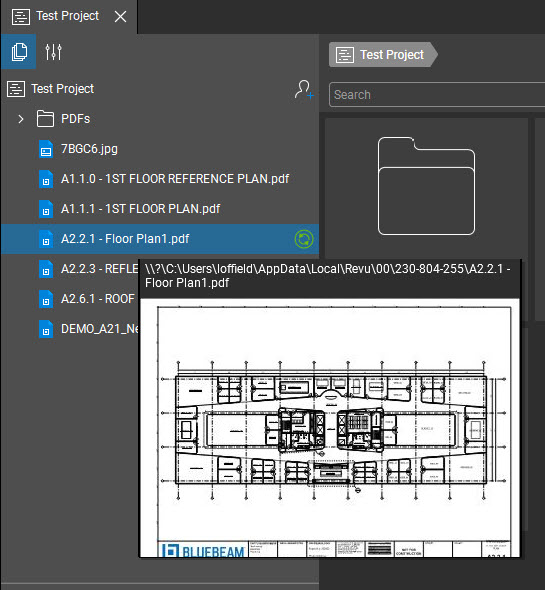
- Double-click the file you wish to markup to open it in the Revu workspace. Note: if you hover over the file name, a thumbnail of the file will appear.
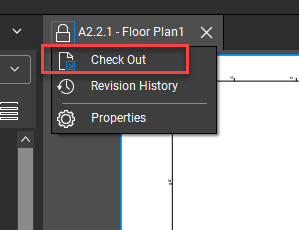
- Now that the file is open in Revu, it will first need to be “checked out” in order to make any changes. You can tell the file hasn’t yet been checked out because of the padlock icon on the file tab.
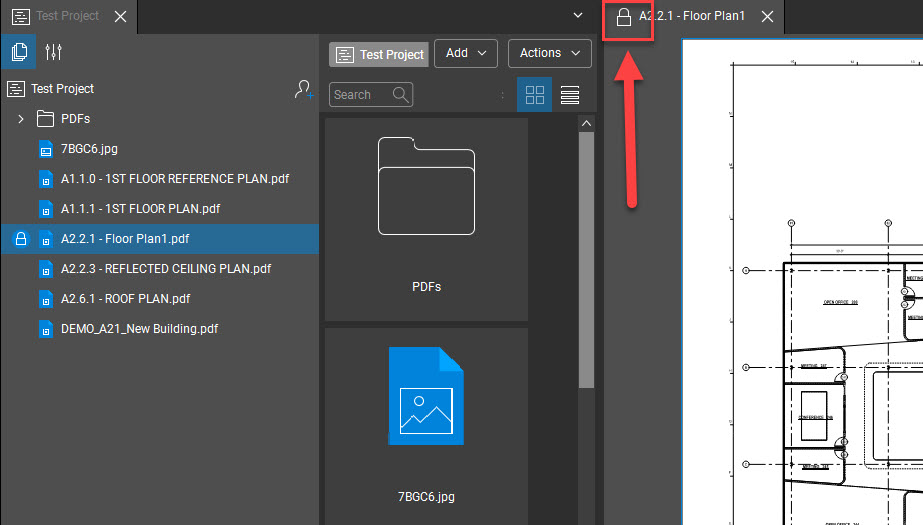
- To check out the file and begin your work, click the padlock icon and select Check Out.
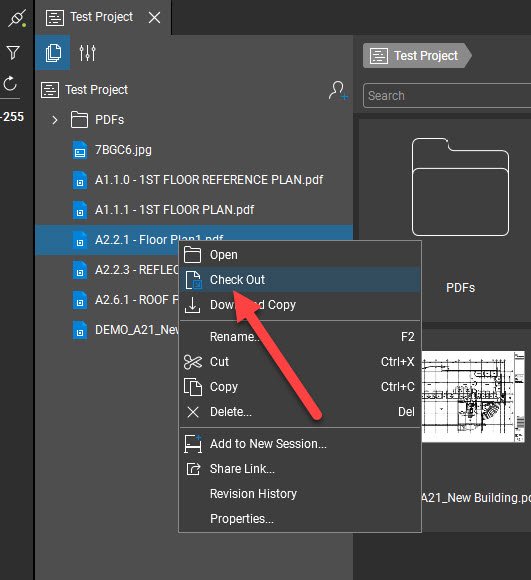
- Alternatively, you can right-click on the file as it is located in the project and select Check Out from there as well.
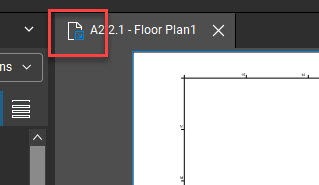
- You can be sure your file is checked out and ready to be marked up because the icon on the tab has now changed to reflect its status.
- Once you have checked out a file from a Studio Project, others will not be able to access the file, except as a read-only version, until you check it back in.
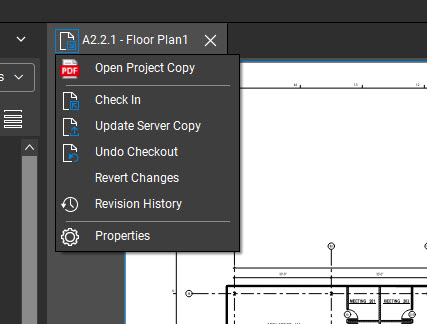
- Now your file is ready to be worked on. Once you have completed your markup work, it is time to check the file in. Click the icon located on the tab again to activate this command. You can also select Update Server Copy if you wish to share the changes you’ve made up to this point with others.
- After you’ve selected Check In from the drop-down menu, Revu will offer you the opportunity to leave any comments pertaining to the work you’ve just performed to the file.
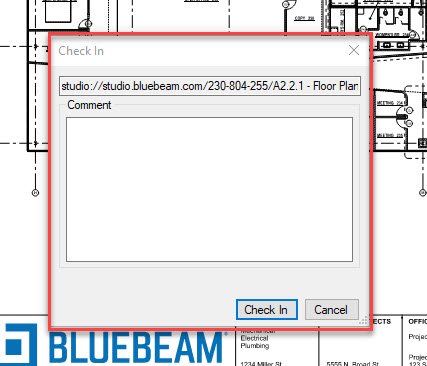
- Leave any necessary comments (or ignore if you wish) then click Check In. Revu will then start uploading your changes, saving a new revision of the file.
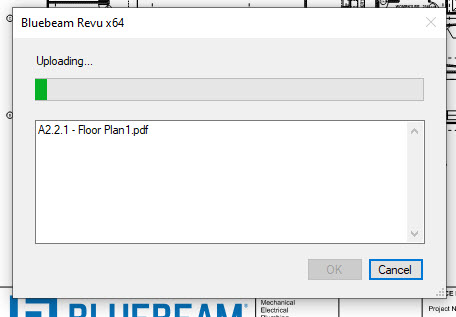
- Once this process has completed, the file will be checked back in to the Studio Project and will then become accessible to others who also have access.
There you have it! Accessing and using the files from a Studio Project is quite simplistic. Of course, there are a lot of other facets to working within a Studio Project but, perhaps I’ll cover those details another time.
Thanks for reading! While you’re hear, head on over to my post showcasing the differences between Bluebeam Studio and Bluebeam Cloud!
-Luke
![]()
Leave A Comment