The Autodesk Single Sign-On
Today, I will be discussing the Autodesk Single Sign-On, its uses, and its many benefits.
The Single Sign-On (SSO) is an authentication scheme that allows a user to log in with a single set of credentials to several related, yet independent, Autodesk software systems.
In a nutshell:
- Allows a user to login to Autodesk Products w/ their existing company credentials
- This leads to a better, more convenient user experience
- Fewer logins required means not having to remember a separate username and password
- Better admin experience – Higher security and compliance
- Increased control of users accessing products
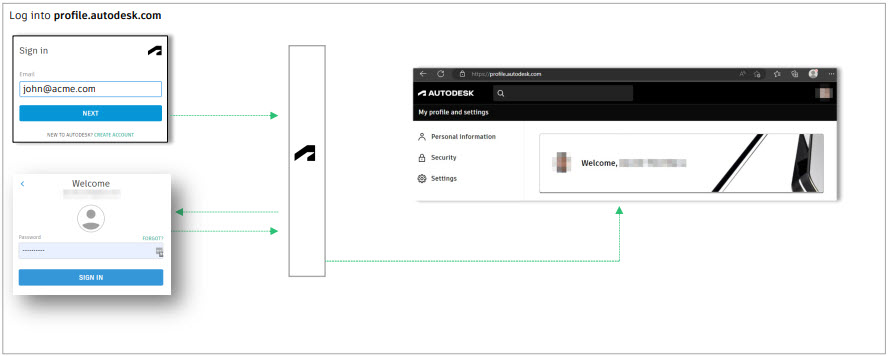
In the traditional Autodesk login workflow:
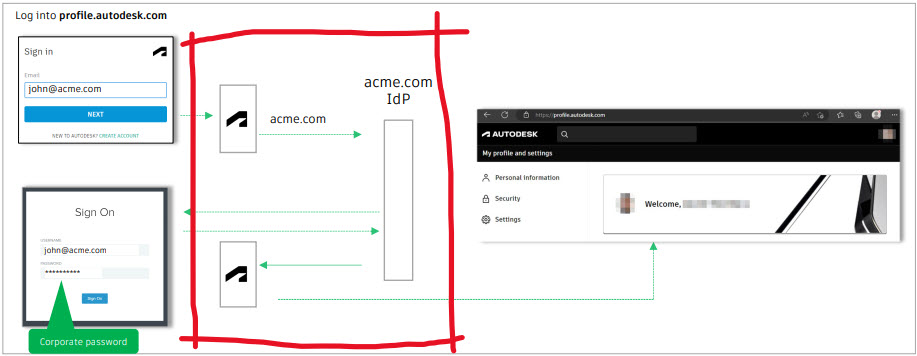
The workflow with Autodesk SSO enabled:
Sure, that sounds fine enough but, exactly how many platforms are supported by the SSO? Well…

As I stated before, the SSO’s defining feature is that it lets users access Autodesk products and services using the same email and password they use for your organization. This means they only need to remember one password, and if they are already signed in to your organization’s network, they will not need to sign in again to access Autodesk.
Implementation

Prepare:
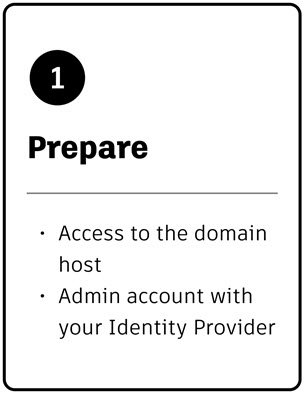
To prepare for SSO setup, you will need:
-
A domain for your organization and the ability to sign in to the domain host.
- Primary or SSO admin access in Autodesk. Learn how to assign a SSO admin.
-
An identity provider through which you have established an admin account to set up a SAML (security assertion markup language) connection.
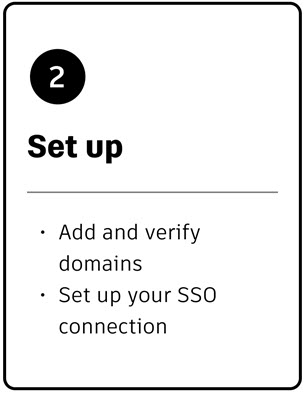
To set up SSO, you will need to add and verify domains and set up your connection. You can do these steps in any order, but you must complete them both to turn on the connection and begin using SSO.
Set up
Add and verify domains
In this step, you’ll add domains to your Autodesk Account and verify them so that they can be used for SSO. Verification lets us know that you’re the owner of the domains you add.
You can add individual domains manually or import multiple domains by uploading a comma-separated values (CSV) file.
To verify domains, you can upload an HTML file or create a DNS TXT record. (For more information, see Verification methods).
Set up your SSO connection
In this step, you’ll set up the SSO connection using metadata from your identity provider. You will need to go into your identity provider to add Autodesk metadata and map attributes, then test the connection to ensure that the connection works and the attributes are mapped correctly.
Once the connection is set up and you have added and verified domains, you can link verified domains to your connection.
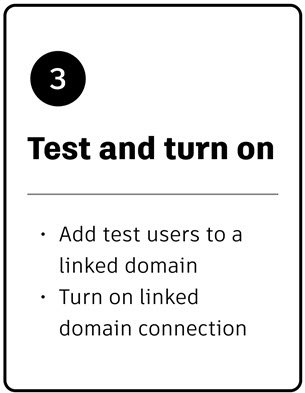
Test and turn on
At this point, you can add test users to a linked domain to test the connection before turning on SSO. This step is optional but strongly recommended to ensure that users will be able to sign in to Autodesk products and services.
Once you have confirmed that test users can successfully sign in, you can turn on SSO. This will take effect immediately, and turning it off requires help from Autodesk Support, so it is important to ensure that the connection is set up correctly before turning on SSO.
Wait, there’s more?!
Of course, there’s a lot more that can be done with the Autodesk SSO. For the FULL rundown, check out the Autodesk Single Sign-On Setup Guide.
And I wouldn’t be doing myself justice if I didn’t mention…

As always, it is VERY important to keep any Autodesk product updated regularly. In regard to this discussion, it is paramount that you keep the SSO and the Autodesk Licensing Service updated.
Thanks for reading!
-Luke


Leave A Comment