
We were recently asked in an email about creating contours from point cloud data in Autodesk AutoCAD Map3D, and while this is fairly straight forward in Civil3D not everyone has access to that software. In this blog post, we will show you how to extract and create contour lines from a point cloud created from UAV photogrammetry in Map 3D through a conversion of the point cloud to a DEM file.
Since 2018, AutoCAD vertical products can no longer consume LAS/LAZ files directly. Instead, they must be brought in through Autodesk ReCap. You can learn more about using ReCap to import your LAS files here: https://www.youtube.com/@AutodeskReCap.
When considering a point cloud to import and use, it is best to start with a LAS/LAZ file that has already been classified with ground data so you will get contours on just your ground elevations and not every object. Autodesk ReCap will honor the classifications already in the LAS /LAZ file but ReCap Pro, part of the Autodesk AEC Collection, can classify out ground data from your point cloud and decimate it as needed. I have created a prior blog post on this subject for your reference HERE.
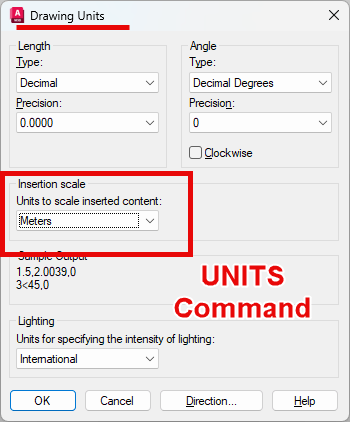
Once done preparing your point cloud data in ReCap, you will need to attach it into your Map 3D model. This RCP file will come into Map 3D as an external reference attachment and is therefore subject to the AutoCAD UNITS command. You should issue the UNITS command and make sure your Map3D model is using the correct units.
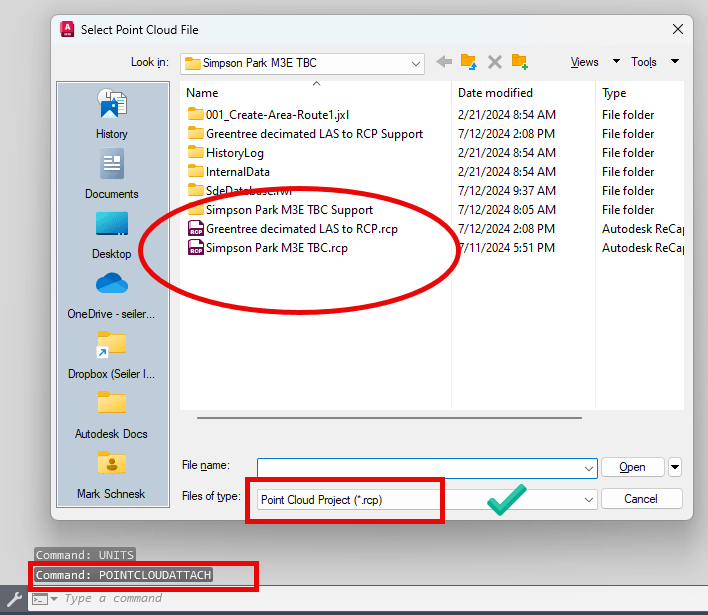
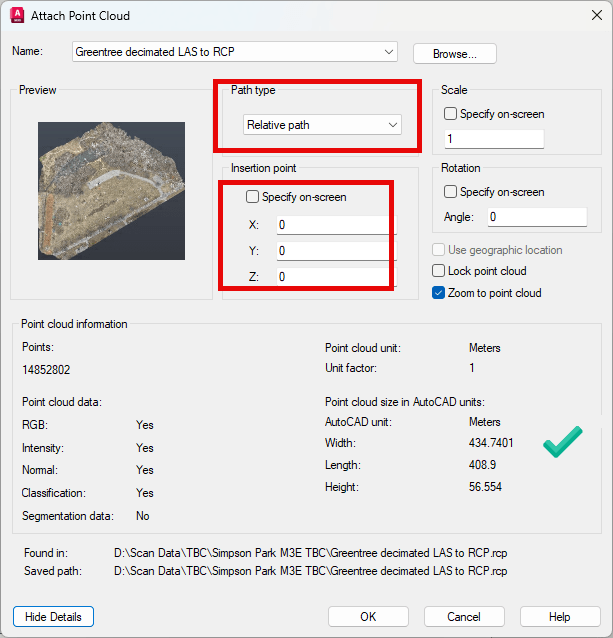
Once your Units and coordinate systems are set up, issue the command POINTCLOUDATTACH to import the point cloud. Make sure Files of Type is set to “Point Cloud Project (*.rcp) and select your point cloud to attach. Choose your Insertion point and path options, typically this is 0,0,0 and relative path.
Once imported, your drawing should zoom to the location of the inserted file. If you set your project coordinates, you can turn on the Online Map to any option you choose to be sure your point cloud was inserted in the proper location. This is a good check on the validity of your file location.
At this point we can jump to creating our DEM from our point cloud.
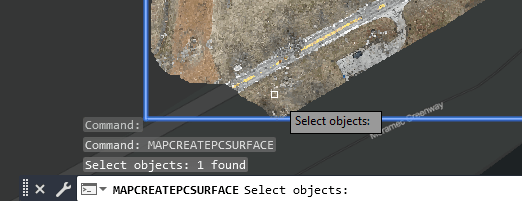
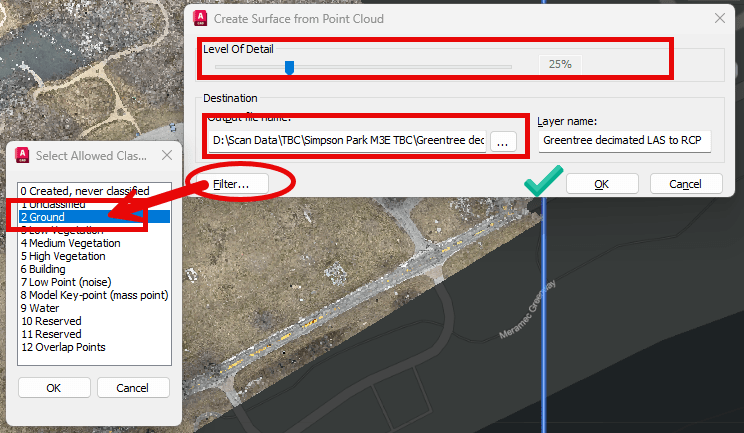
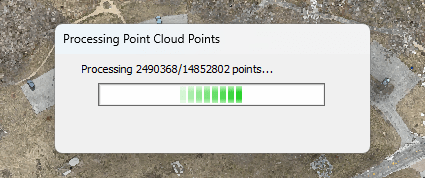
To create a surface from this point cloud we will convert it to a DEM, or Digital Elevation Model image. Issue the command MAPCREATEPCSURFACE. Select the ReCap point cloud to create your surface from, select your Level of Detail and filter the surface by classification; choose class 2 for ground only, if it exists. Select an output location for the DEM image file and begin the process.
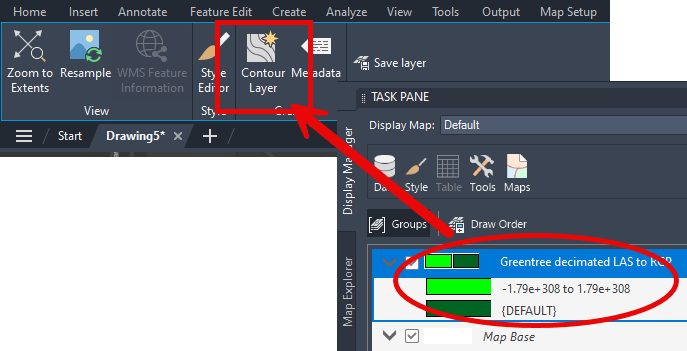
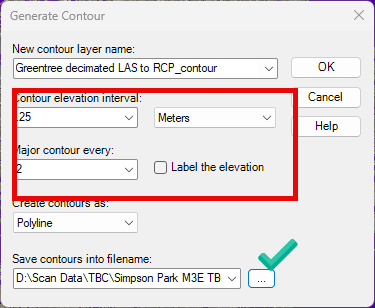
Once your DEM surface has been created from this task, you can then right-click on the surface in the Map Task Pane to create contours. You can also choose this command in the contextual ribbon when selecting this item. Choose your contour interval and major contour. This will save as an Autodesk SDF file and make an FDO connection to it, so save the file in a location you can find later.
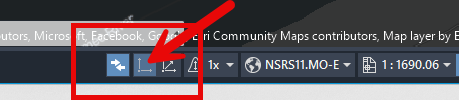
Select the 2D view mode in the status bar to turn off the point cloud and see your DEM hillshade and contours.
You can also change the color theme of the DEM if you would like that added to your map. In this case, I will change the theme in the style manager to USGS DEM color scheme.

That should be all there is to it. You have options to bulk-copy the contours from SDF to ESRI SHP format or export the Map3D map to a DWG drawing if desired.
If you have any questions on this or other topics, please contact us at [email protected].
Thank you.
Leave A Comment